Recording a timelapse with a Raspberry Pi
TLDR: this post explains how to use your Raspberry Pi to record pictures and then assemble them into a video with ffmpeg to produce a timelapse video.
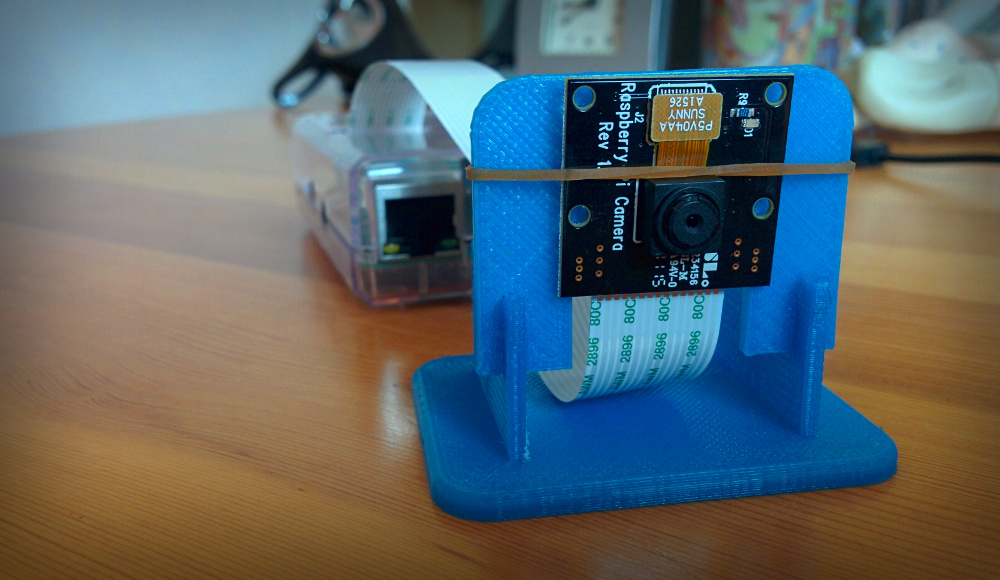
Yesterday I had a party at home, and I chose to record the fun of the party with my brand new Raspberry Pi. I had bought a camera with the Pi, the model without the infrared filter (that blocks infrared) called the NoIR Camera. This camera basically allows you to “see” the infrared light - that humans cannot see - used for TV remotes, Wiimotes, fingertracking or… night vision. Useless today, it just produced weird colors (blue / pink shades) on the pictures, so you may better use the standard camera (that blocks IR).
Setting up the Raspberry Pi and the camera
Several third-party tools allow you to do a timelapse with a Pi, with a lot of
options and features, but I chose to stick with a more simple tool already
present on the Pi: raspistill. Along with raspivid, these tools allow you to
play with your camera.
First of all, plug your camera. You may need to activate the support for the
camera with
raspi-config
if you never did it before. I had a permission issue because I was not using the
default pi user and thus was not in the video group.
We can take a picture with raspistill (see the documentation if
needed).
Let’s try it now to check if the camera does see us. Maybe we will need to flip
the image or move the camera.
raspistill -o cam.jpg
I am using a headless Pi (without graphical server) with SSH so I had to scp
pi:cam.jpg . to retrieve the picture and check the result.
Start the capture
Then, now that your camera is placed well and you are ready to start the capture, all you have to do is save an image every N seconds:
raspistill -t 0 -tl 10000 -n -w 1920 -h 1080 -o image%04d.jpg
raspistill has a built-in feature to do the timelapse:
-tl T: a picture will be taken every T millisecond (here 10s)-t 0: never timeout, keep shooting. You may want to set it to a high value like a few hours (value in ms)-n: do not show any preview on the HDMI screen (anyway we have no screen)-w 1920 -h 1080: HD is sufficient for a timelapse, you don’t want a final 4GB video! Default is 2592 x 1944 (5 megapixels)-o image%04d.jpg: filename for saved files, here%04dmeans the number of the picture, on 4 digits
About the output format, you can replace %04d by a simple %d and add the
-dt (--datetime) flag that will replace the frame number by the datetime
(MonthDayHourMinSec), to produce test221172225.jpg (February 21st, 17:22:25).
If needed, the -dt flag can be replaced by -ts (--timestamp) that will use
the number of seconds since 1900.
Using the initial format, you will soon see a large number of files like
image0012.jpg, that can take up a large disk space.
What delay for what storage space? I chose to take a picture (~3MB) every ~20s, which is ~9MB every minute, 520MB every hour. I got a nice 4,7GB for 9h of time. Plan carefully your timelapse if you do not have much space on your SD card.
Assembling the pictures into a video
First, move the pictures to your computer, to benefit from a higher processing
power (needed for video edition). You can use scp, rsync, but I recommend to
just insert your SD card into your computer (way more quick and easy).
Some tutorials suggest using mencoder but this package is not available on my
Ubuntu. I thus used ffmpeg.
-
Assemble the pictures (this step is I/O intensive, you may want to use your SSD), at a rate of 25 pictures per second:
ffmpeg -r 25 -pattern_type glob -i '*.jpg' -c:v copy output.avi -
Convert your video to a smaller format (this step is CPU intensive):
ffmpeg -i output.avi -c:v libx264 -preset slow -crf 15 output-final.mkv
And TADAAA your timelapse video is ready! :D
Now, let’s laugh a bit seeing the potato chips bowl magically emptying, the glasses moving, people dancing, playing games, kissing or falling asleep. And you can even create GIFs of your funny friends using the raw pictures!