Creating and publishing a Python package
In this post I explain how to transform a working code into a python package
that can be installed from PyPi using pip install yourmodule. I will
suppose you are modern and use Python 3. For those in a hurry, three steps:
clone a repository, update the setup.py
file, and follow the instructions in
the last part.
Quick reminder on Python modules and packages
Creating a Python module is easy:
-
Create a file with your code, call it
myhellomodule.py(orwhateveriwant.py):def hello(): print("I am a Python3 module!")This a module: a file with things in it. You can import it or do whatever you want.
-
Make it a package:
touch __init__.py
And ta-daaa you have a Python package. If the directory containing the two
files (__init__.py and myhellomodule.py) is called swaggymodule, then you
can from swaggymodule.myhellomodule import hello (from the parent directory).
Nothing fancy for now. Let’s see how to publish such a wonderful package, so
that your grandmother can install it with a simple pip install swaggymodule.
Packaging your project
First, clone the sample project and give it the name of your module:
git clone https://github.com/pypa/sampleproject swaggymodule
The important files:
- setup.py allows you to specify your project configuration, and to run
packaging commands: try
python setup.py --help-commands - setup.cfg is an INI file containing option defaults for
setup.pycommands - README.rst describes the goal of the project, using reStructuredText
Copy your module(s) inside this new folder and remove the existing “sample” module:
swaggymodule
|- swaggymodule
  |- __init__.py
  |- myhellomodule.py
|- setup.py
|- setup.cfg
|- README.rst
Configure the name, version, description…
First, open the setup.py file, to enter a few details about the project. All the fields are self-explanatory but here are a few additional pieces of advice:
-
name: according to PEP0008:
Modules should have short, all-lowercase names. Underscores can be used in the module name if it improves readability. Python packages should also have short, all-lowercase names, although the use of underscores is discouraged.
Never use dashes (
-) in your package name because importing it would become a very hard task. - license: in case of doubt (what should I use?), try http://choosealicense.com/: it’s super clear.
- classifiers: check https://pypi.python.org/pypi?%3Aaction=list_classifiers for a full list.
- entry_points: in case your application plugs in an existing system, you may specify an entry point. See this page for more details. But in most cases you should just set it to an empty dictionnary.
The actual packaging steps
So that you don’t run into the same issues as me:
pip install wheel twine setuptools --upgrade
First, create a Source Distribution. This kind of “distribution” (aka “Package”) requires a build step when installed by pip.
python setup.py sdist
But we want to install a “wheel” (a built package) which is faster to install than a source distribution:
python setup.py bdist_wheel
Uploading your package
You will need an account on PyPi. But also create one on the test platform we will use: testpypi.python.org.
The official documentation recommends to use twine instead of the default
python setup.py upload because the latter uploads files and credentials over
plain HTTP whereas twine uses TLS (so use twine).
To save the configuration data, create a file in ~/.pypirc:
[distutils]
index-servers=pypi

[pypi]
repository = https://testpypi.python.org/pypi
username = yourusername
You may also add a password line if you don’t want to type your password
everytime. Then:
# Register your project
twine register dist/*.whl
# Upload the project
twine upload dist/*
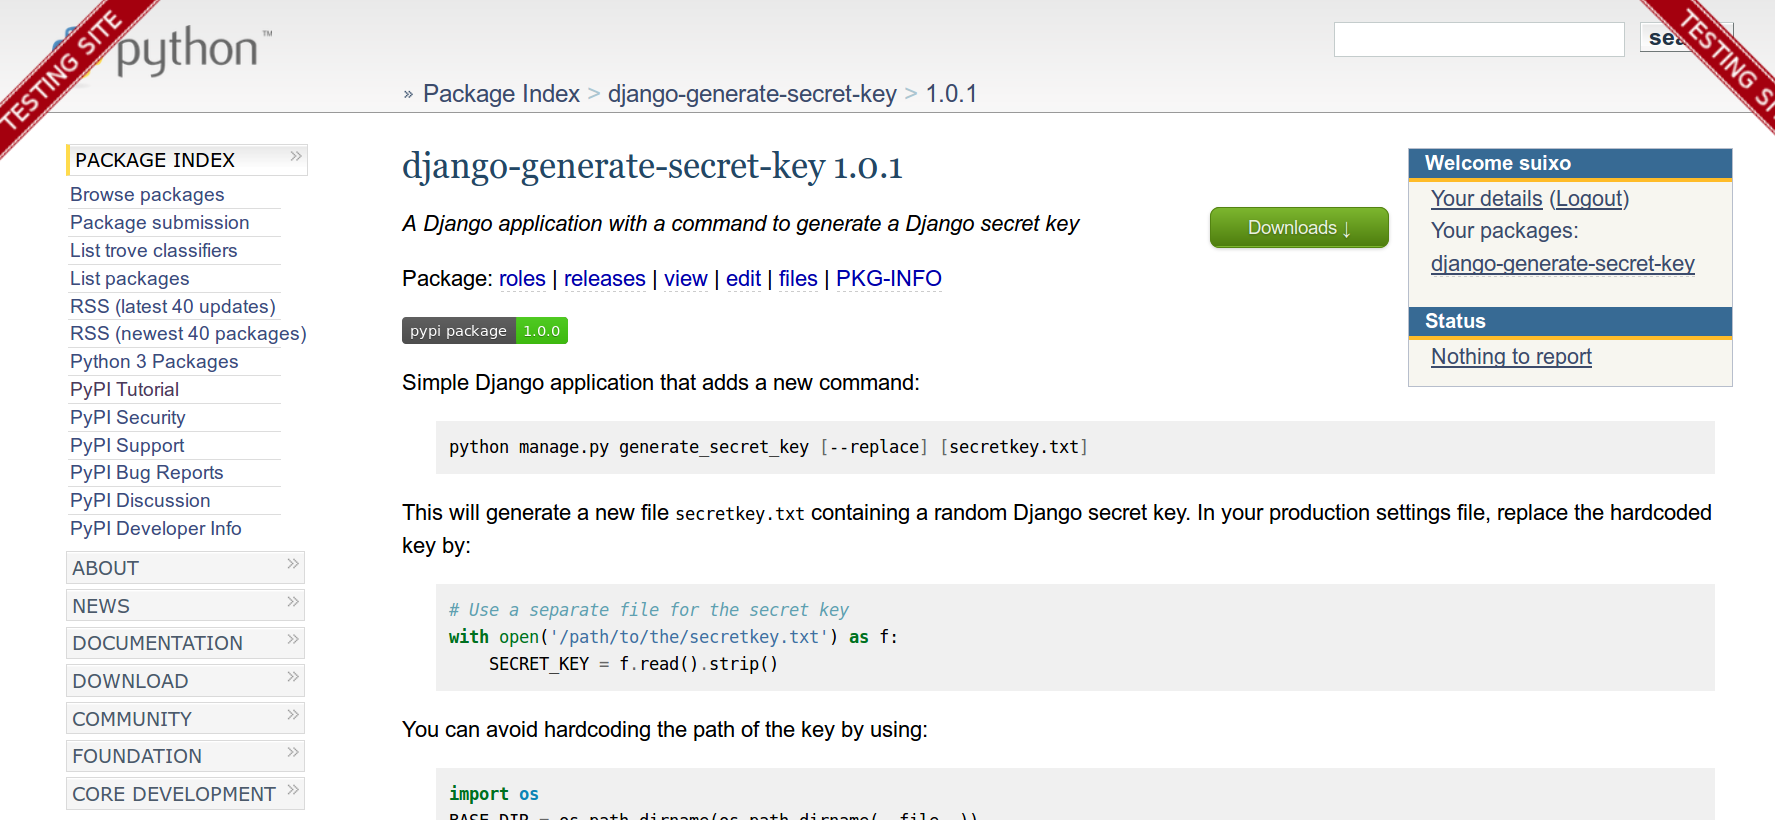
And this is what you should get when you head to testpypi.python.org:
If you need to make updates: change your code, bump the version to 1.0.1 in the
setup.py file, optionally commit your code to your repository, and do:
twine upload dist/swaggymodule-1.0.1*
This should have updated your project online and made the new version available. Now try it:
$ pip install -i https://testpypi.python.org/pypi swaggymodule
Downloading/unpacking swaggymodule
  Downloading swaggymodule-1.0.1-py3-none-any.whl
  ...
It works! But before letting people know about your new package, we should upload it to the actual PyPi (not the test one). The process is summed up in the next section:
In a nutshell
pip install wheel twine setuptools --upgrade
# Check and update the server to use (https://pypi.python.org/pypi) and your credentials
nano ~/.pypirc
# Build the distributions
python setup.py sdist
python setup.py bdist_wheel
# Register and upload your package
twine register dist/*.whl
twine upload dist/*
To go further
- The official tutorial
- The naming convention
- A more complete article: Open Sourcing a Python Project the Right Way by Jeff Knup.
Following these steps, I was able to publish a small
application we were
using on a closed-source project, to share it but also to decrease the amount of
code inside the project itself that was not focused on the business logic.
This application is a Django application enabling users to generate a new
secret key when deploying their Django
project. In our
project, a simple pip install django-generate-secret-key replaced a whole
folder and saved us space, complexity, and increased the readability of the
source code.